In addition to being an avid movie and gaming enthusiast, Uttaran Samaddar is an experienced writer who has lent his creativity and unique perspective to various publications. He loves hearing and telling stories.
5 Tools You Need to Improve Your YouTube Livestreams Today
In the last few years, livestreaming has become increasingly popular for interacting with viewers, nurturing relationships, and building a brand on YouTube. By showing up week after week to entertain your audience, you bring yourself closer to every creator's dream: rapid channel growth.
Plus, with YouTube making livestream VODs available in real-time, the potential for creating other forms of content from a single livestream is huge! That alone makes it one of the best types of content to have on your channel.
How to Go Live on YouTube
To enable live streaming on YouTube, follow the steps below:
1. Make sure you have a verified YouTube account and are in good standing with YouTube.

Image Credit: Google Support
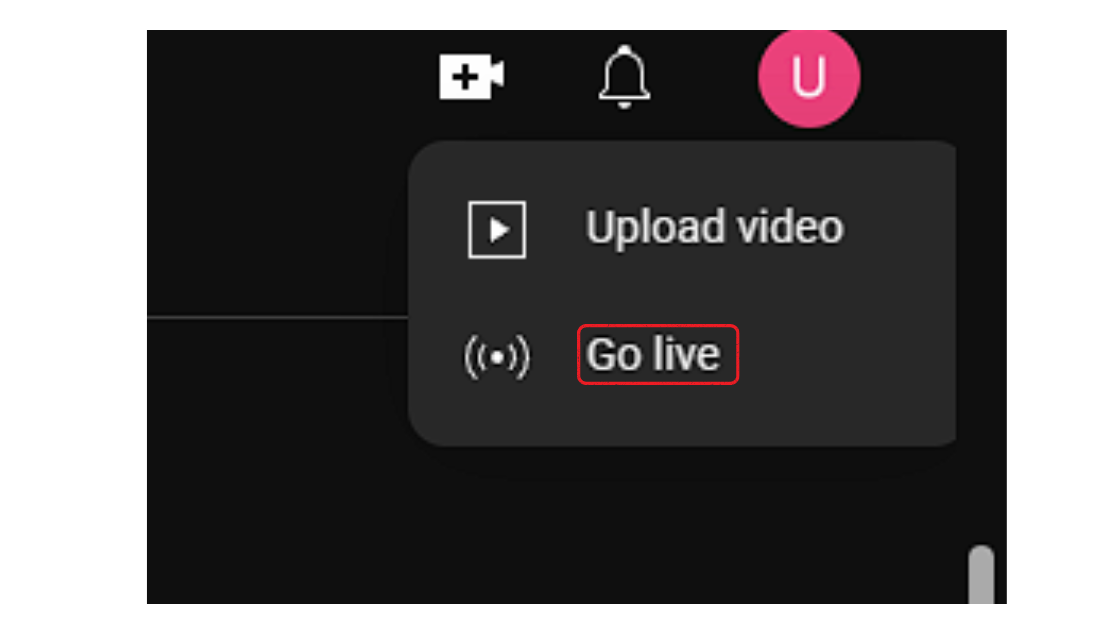
2. On a computer, visit YouTube and click on the camera icon in the top right corner.
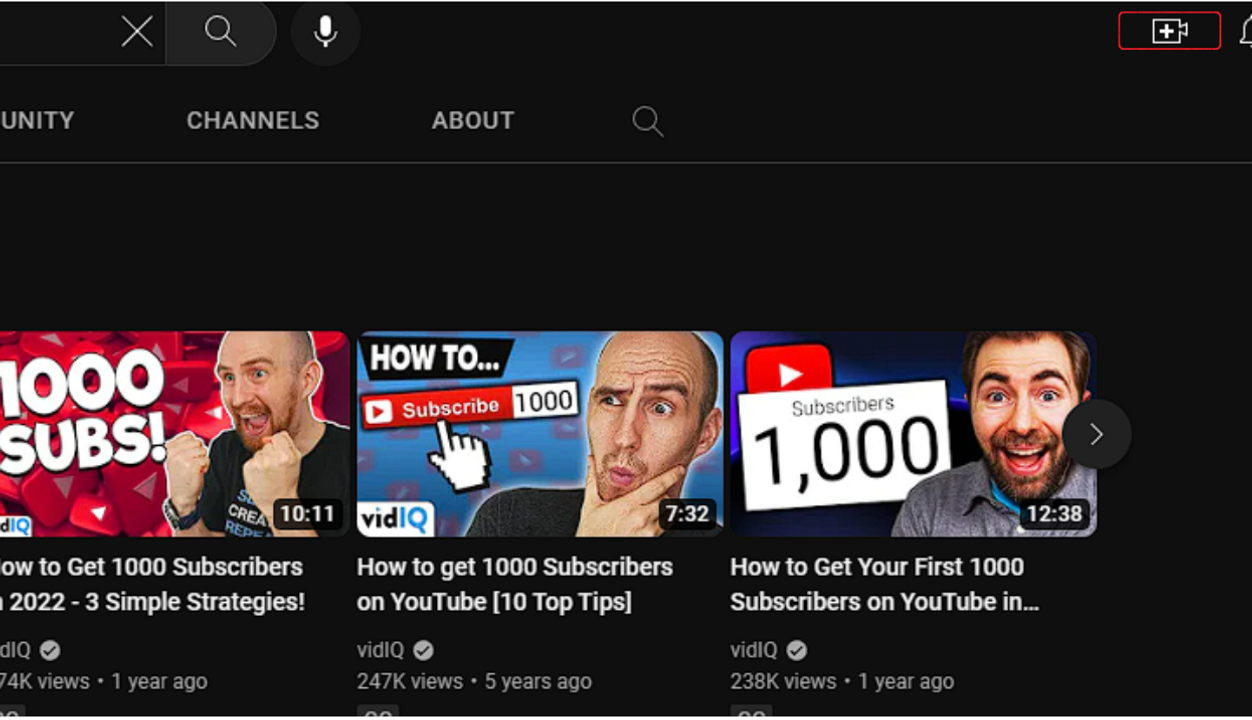
3. Select Go live from the dropdown menu.
4. Fill in the details for your stream, including title, description, privacy settings, and monetization options. Also, while you’re on the monetization tab, don't forget to turn on the “Supers.”
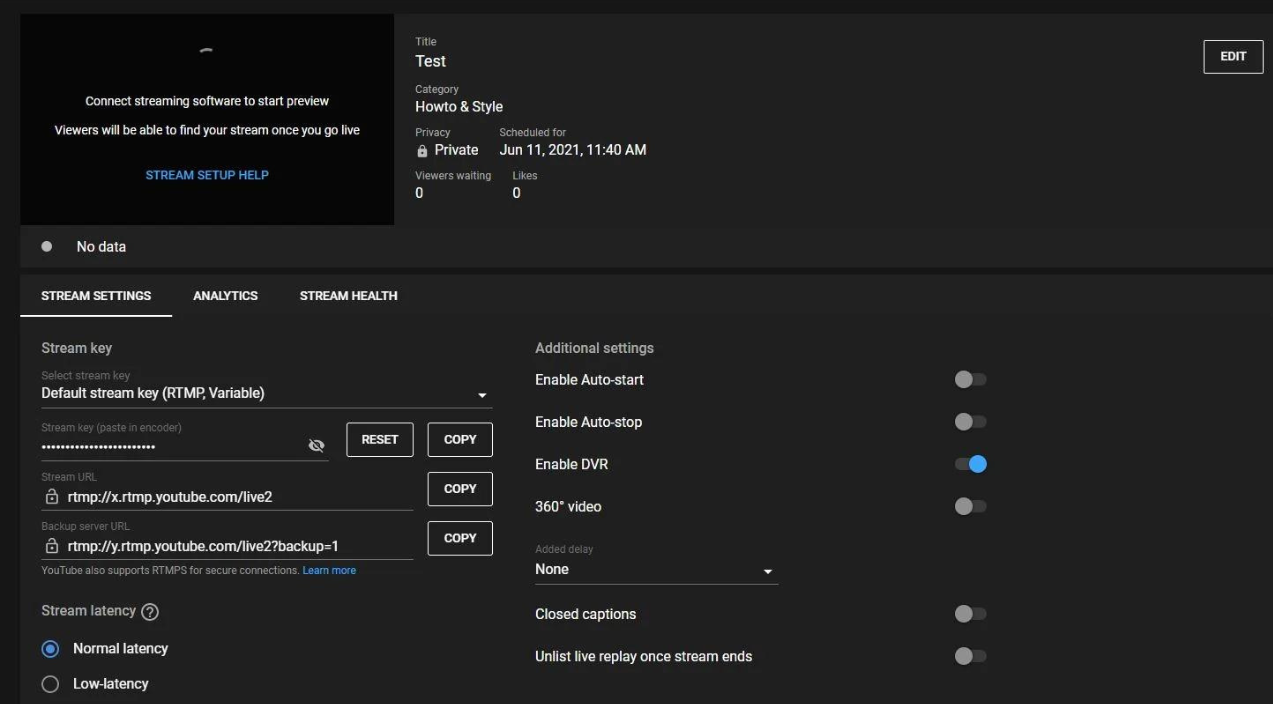
Image Credit: bzbgear.com
5. Set up your encoding software according to YouTube's recommended settings.
6. Preview your stream to make sure everything looks good, and you're set to start your stream!
Note that you may need to wait up to 24 hours after verifying your account before you can go live. If you want to stream from your mobile phone, you must fulfill the YouTube Partner Program criteria of 1,000 subs.
You can click on the in-built “webcam” option to stream on YouTube right away. Or, you can set up your own streaming software.
But, in order to give your audience the best viewing experience, you need to use certain livestream tools right now. Here are five that are really beneficial:
1. High-Speed Internet
Livestreaming requires a stable and high-quality internet connection because the video and audio data is transmitted in real-time. Viewers have a bad experience if the speed of the internet connection is not reliable, irrespective of the content.
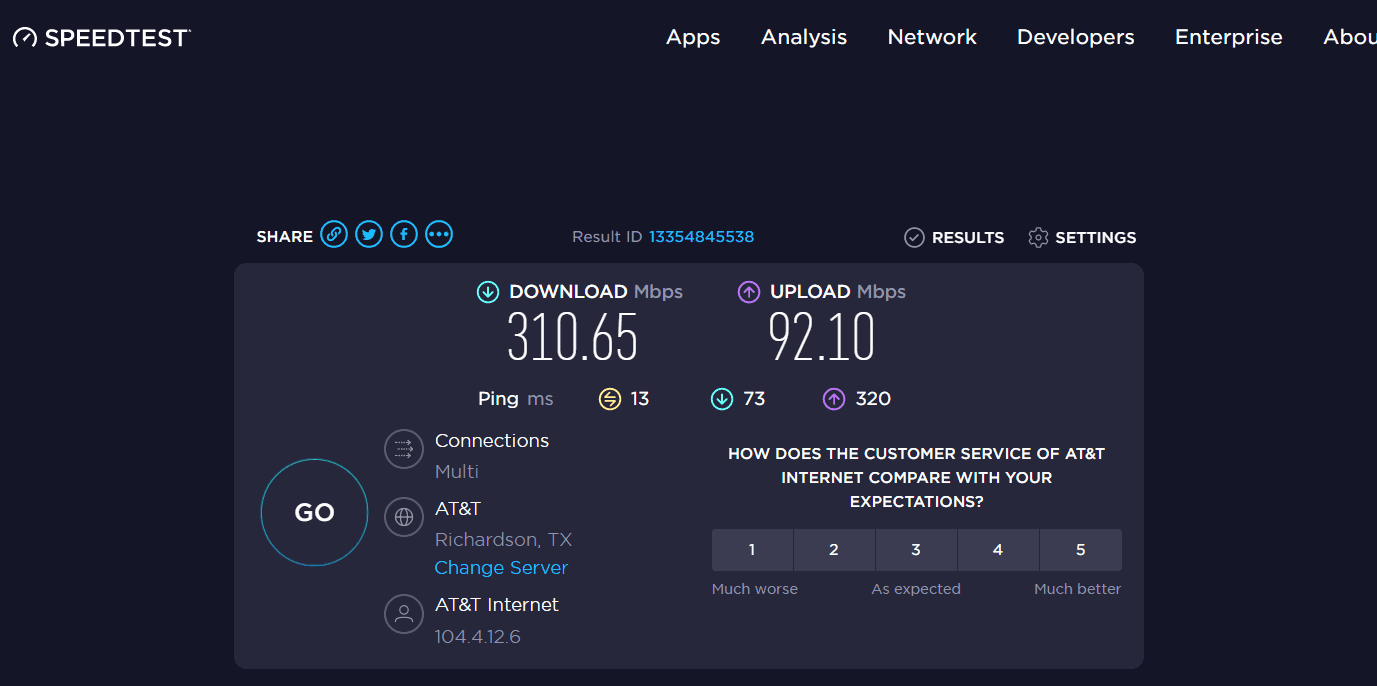
Image Credit: lifewire.com
Remember, this isn’t just the download speed we’re talking about. Delivering the best streams requires a high upload speed. Make sure your internet delivers at least 30 Mbps of upload speed. A wired (ethernet) connection is almost always a better choice than Wi-Fi for streaming.
2. Streaming Software
To take the quality of your streams to the next level, you need to use streaming software. This is a program that acts as a video encoder and allows you to broadcast live video and audio over the internet.
If you're just starting out with streaming, Open Broadcaster Software (OBS) is a great choice. It's free, open source, and easy to use. With OBS Studio, you can easily record your screen or webcam, add custom graphics and overlays, and even switch between multiple camera angles.
You can also use web platforms like StreamYard which allows you to stream your content to multiple platforms simultaneously, including Twitch, Facebook, and more. You can also add alerts and connect with different people directly on StreamYard.
3. Custom Visuals
Now, understandably, adding custom content like graphics, overlays, and tickers can give your stream that edge over ordinary ones. But how do you do it?
To create custom graphics and overlays for your YouTube livestream, you can use software such as Adobe Photoshop or GIMP. Here are some steps to get started:
- Determine the size and format you want for your graphics and overlays. This will depend on the dimensions of your livestream window.
- Create a new file in your graphics software with the appropriate dimensions and format.
- Design your graphics and overlays using the various tools available in the software. You can create text, shapes, and images to add to your design.
- Once you have finished your design, export it in a format that is compatible with your livestreaming software. Common formats include PNG and JPEG.
- Import your graphics and overlays into your livestreaming software and position them on the screen as desired.
- You can always use services like Envato Elements to take this burden off your shoulders. Their high-quality assets, such as graphics, fonts, templates, photos, videos, and audio files, will elevate your live video production value while saving you time and energy.
- Remember to keep your design simple and easy to read, as viewers may have little time to process the information on the screen. Also, test your graphics and overlays before going live to ensure they are displaying correctly.
You can always use services like Envato Elements to take this burden off your shoulders. Their high-quality assets, such as graphics, fonts, templates, photos, videos, and audio files, will elevate your live video production value while saving you time and energy.
Remember to keep your design simple and easy to read, as viewers may have little time to process the information on the screen. Also, test your graphics and overlays before going live to ensure they are displaying correctly.
4. Stream Deck
This one is totally optional. But if you want to see those cool custom designs you created utilized to their full potential, you need a stream deck.
A stream deck is a personalized device that streamers can use to rapidly and effortlessly accomplish specific activities while streaming. It has physical buttons that can be programmed to perform tasks such as opening programs, controlling audio mixers, and switching scenes.

A stream deck can be a useful tool for streamers who want to streamline their workflow and make it easier to engage with their audience. By using a stream deck, you can focus on your content and interact with viewers more effectively.
Buying a stream deck could be a very costly affair, with decent products priced at a minimum of around $200. A cheap (or free) solution could be using software or apps which could turn any mobile devices you own into a customizable stream deck! You can use tools like Touch Portal, Stream Deck Mobile, Deckboard, etc.
5. Important Accessories
All of the equipment we mentioned above will create an enjoyable stream for your viewers but adding a few accessories can enhance the experience even more. So, if you do have some dollars to spare, this is the time to spend them.
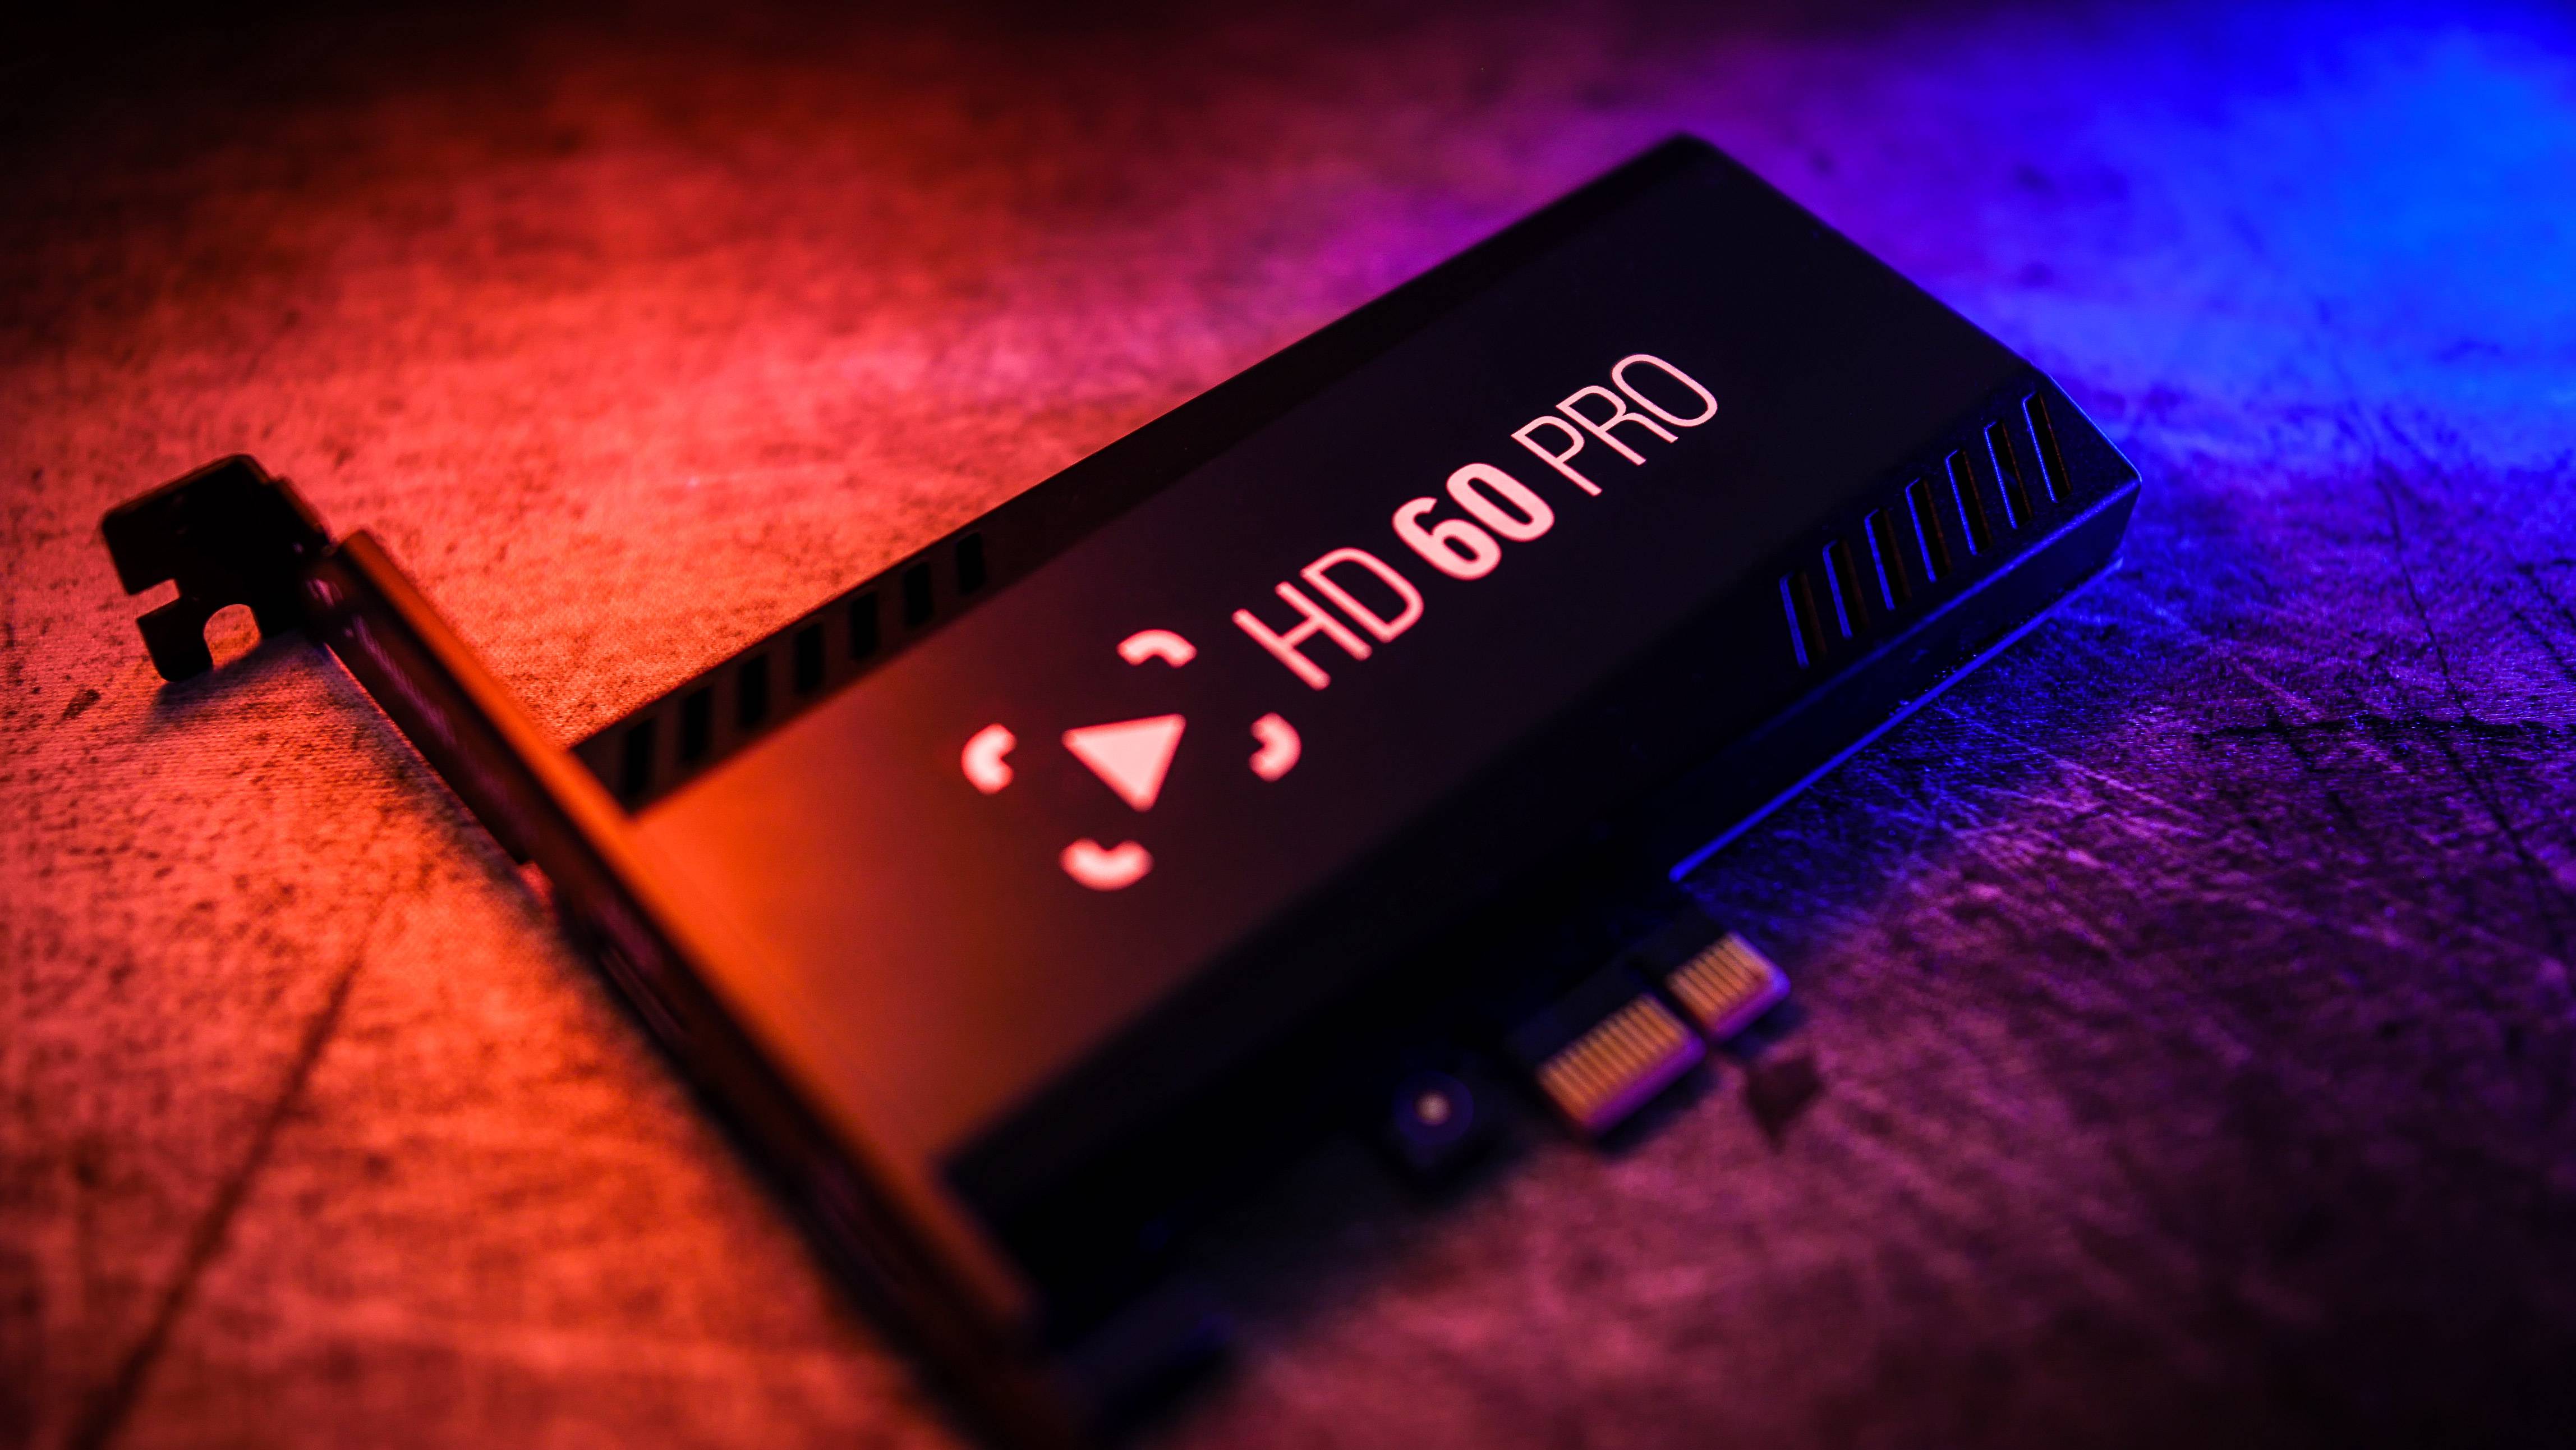
To stream video games, you need to purchase a capture card. A capture card is a device that allows you to record and stream gameplay from video game consoles or a PC. It is typically installed in a PCIe slot on a computer and connects to the gaming console or PC via HDMI. The capture card then captures the video and audio signal, which can then be streamed.
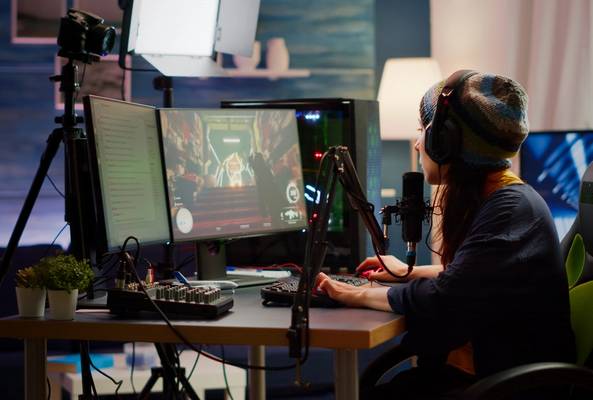
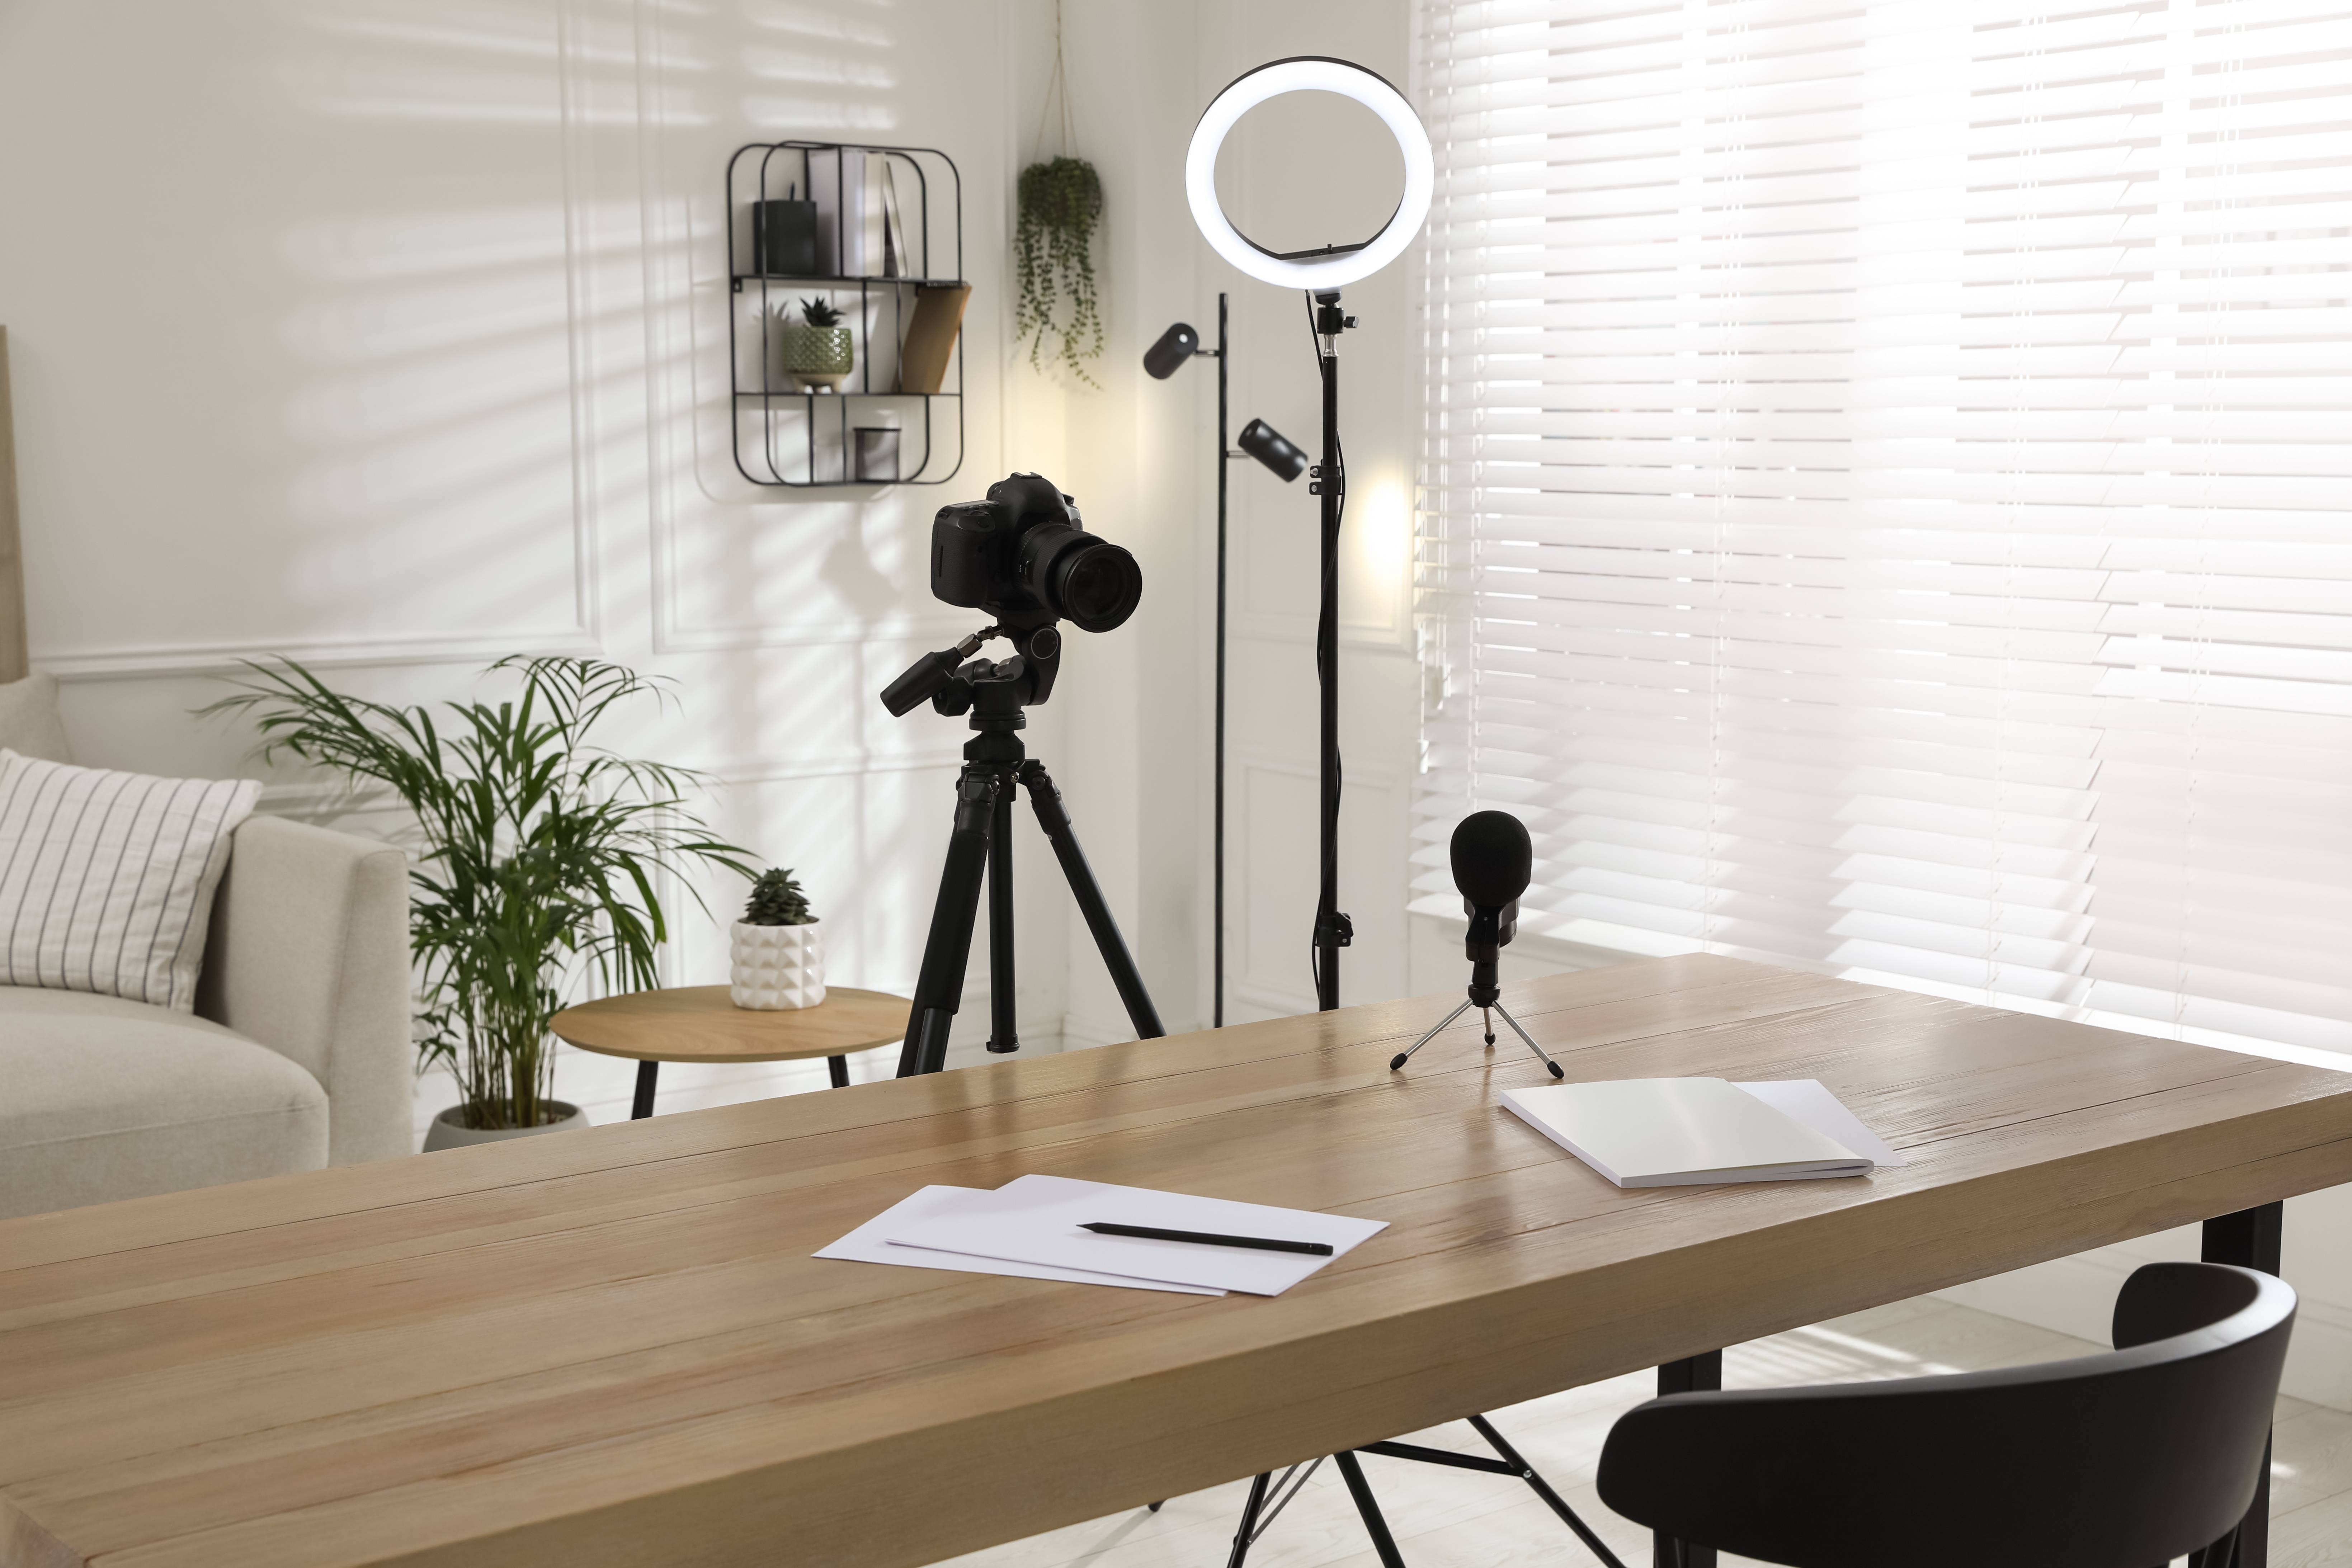
If gaming is not your thing, then your primary investment should be better audio-visual livestreaming equipment. A well-lit stream with good audio affects the overall quality of a stream the most and you want to make sure it’s in the best shape.
Using these tools will make your viewers happy and keep they’ll come back for more of your quality content! Here’s how you can keep track of their behavior on your channel.

